Golf Course Leaf Removal | How To
How to Do Golf Course Leaf Removal
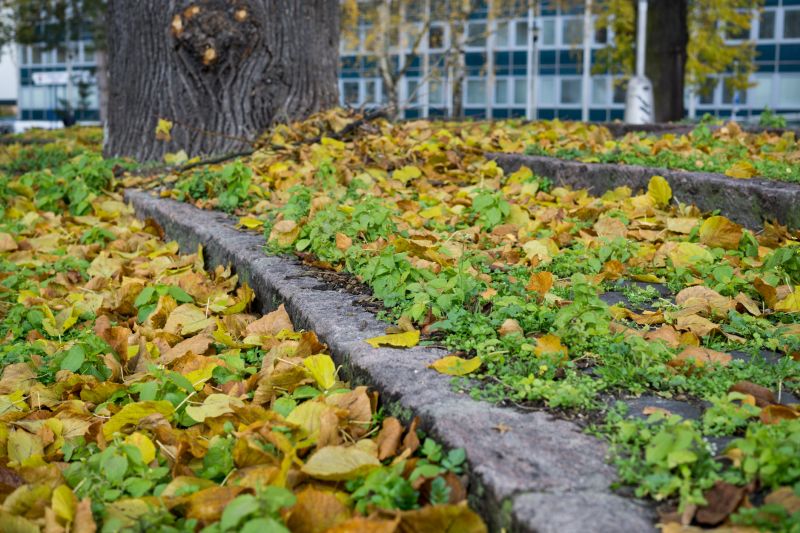
Step 1: Assess the Area
Before starting the leaf removal process, walk around the golf course and assess the areas that need attention. Identify the sections with the most leaves and prioritize your work accordingly.
Step 2: Gather the Necessary Tools
Make sure you have the right tools for the job. You will need:
- Rakes
- Leaf blowers
- Leaf bags or bins
- Golf carts or utility vehicles for transportation
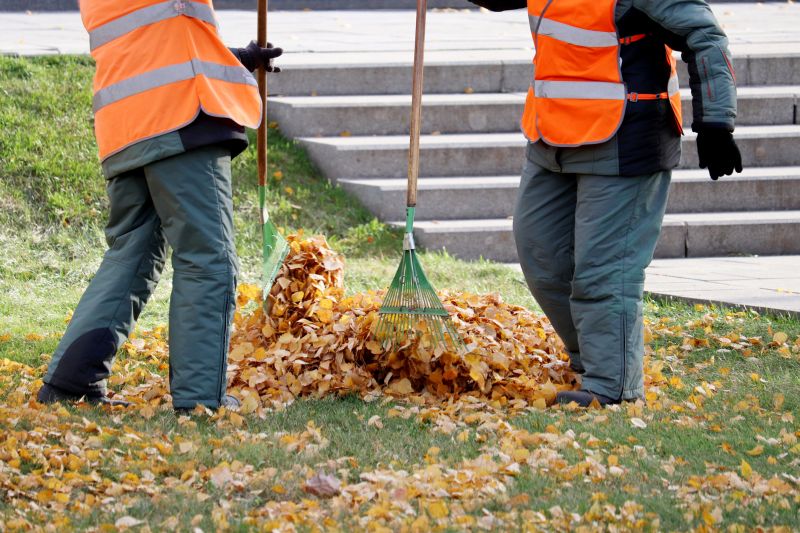
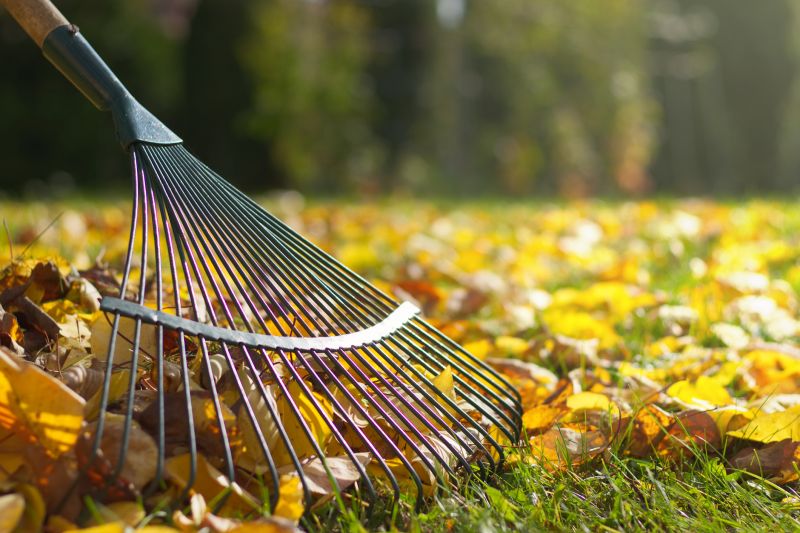
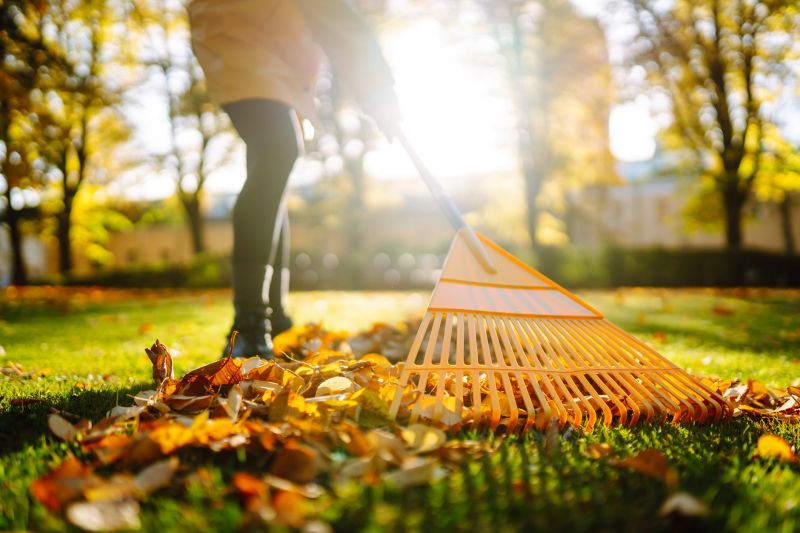
Step 3: Start with Raking
Begin by using rakes to gather the leaves into piles. Start from the outer edges of the affected areas and work your way towards the center. Make sure to rake the leaves in a controlled manner to avoid damaging the turf.
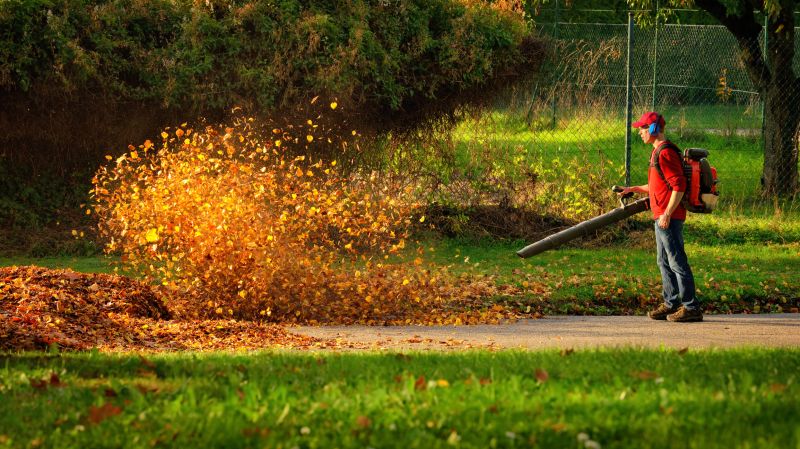
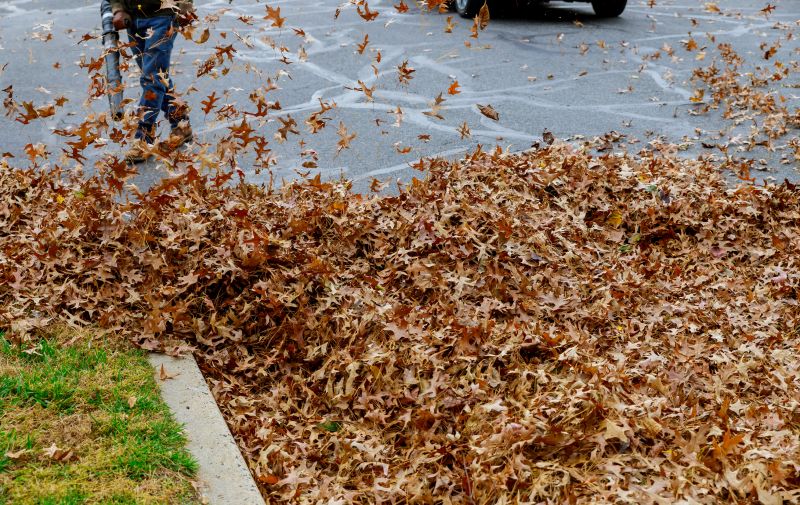
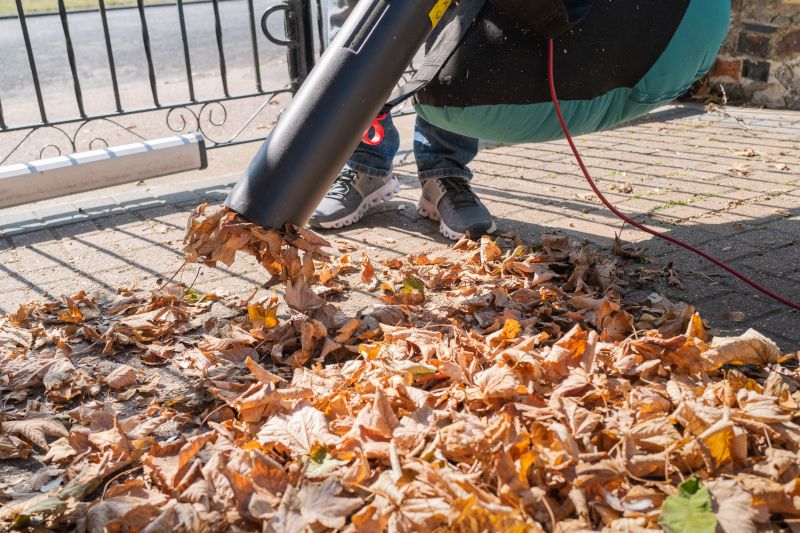
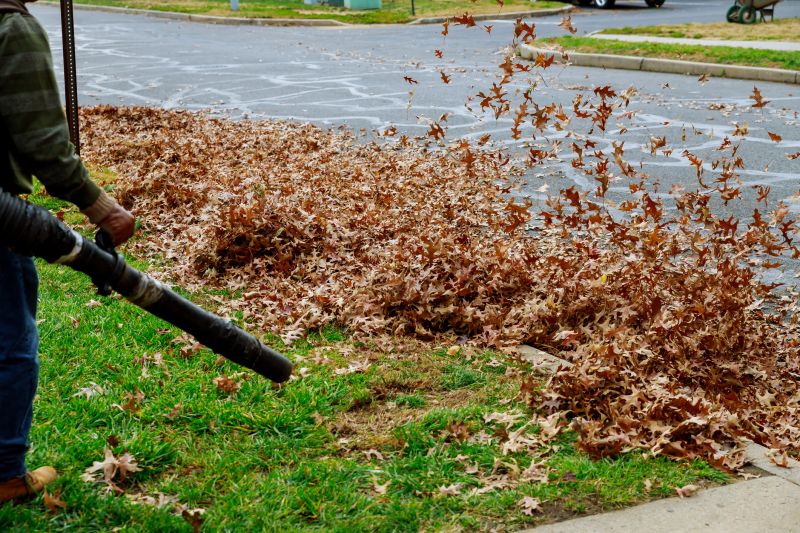
Step 4: Use Leaf Blowers
Once the leaves are gathered into piles, use leaf blowers to move them into larger piles or towards designated collection areas. This will help you gather the leaves more efficiently and save time.
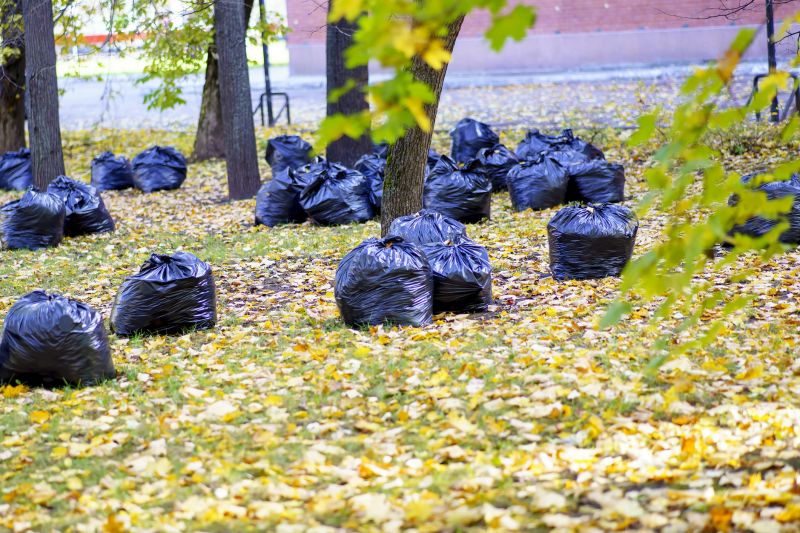
Step 5: Bag or Dispose of the Leaves
Transfer the leaves from the piles into leaf bags or bins. If possible, use golf carts or utility vehicles to transport the bags to a designated disposal area. If you have access to a composting facility, consider composting the leaves.
Step 6: Clean Up the Area
After removing the leaves, use rakes or leaf blowers to clean up any remaining debris. This will ensure that the golf course is free from any potential hazards and maintain its aesthetic appeal.
Step 7: Repeat as Necessary
Depending on the size of the golf course and the amount of leaf fall, you may need to repeat the leaf removal process multiple times throughout the season. Stay vigilant and continue to assess the areas regularly.
Conclusion
By following these steps, you can effectively remove leaves from a golf course and maintain its playability and visual appeal. Remember to prioritize safety and be mindful of the environment while performing this task.